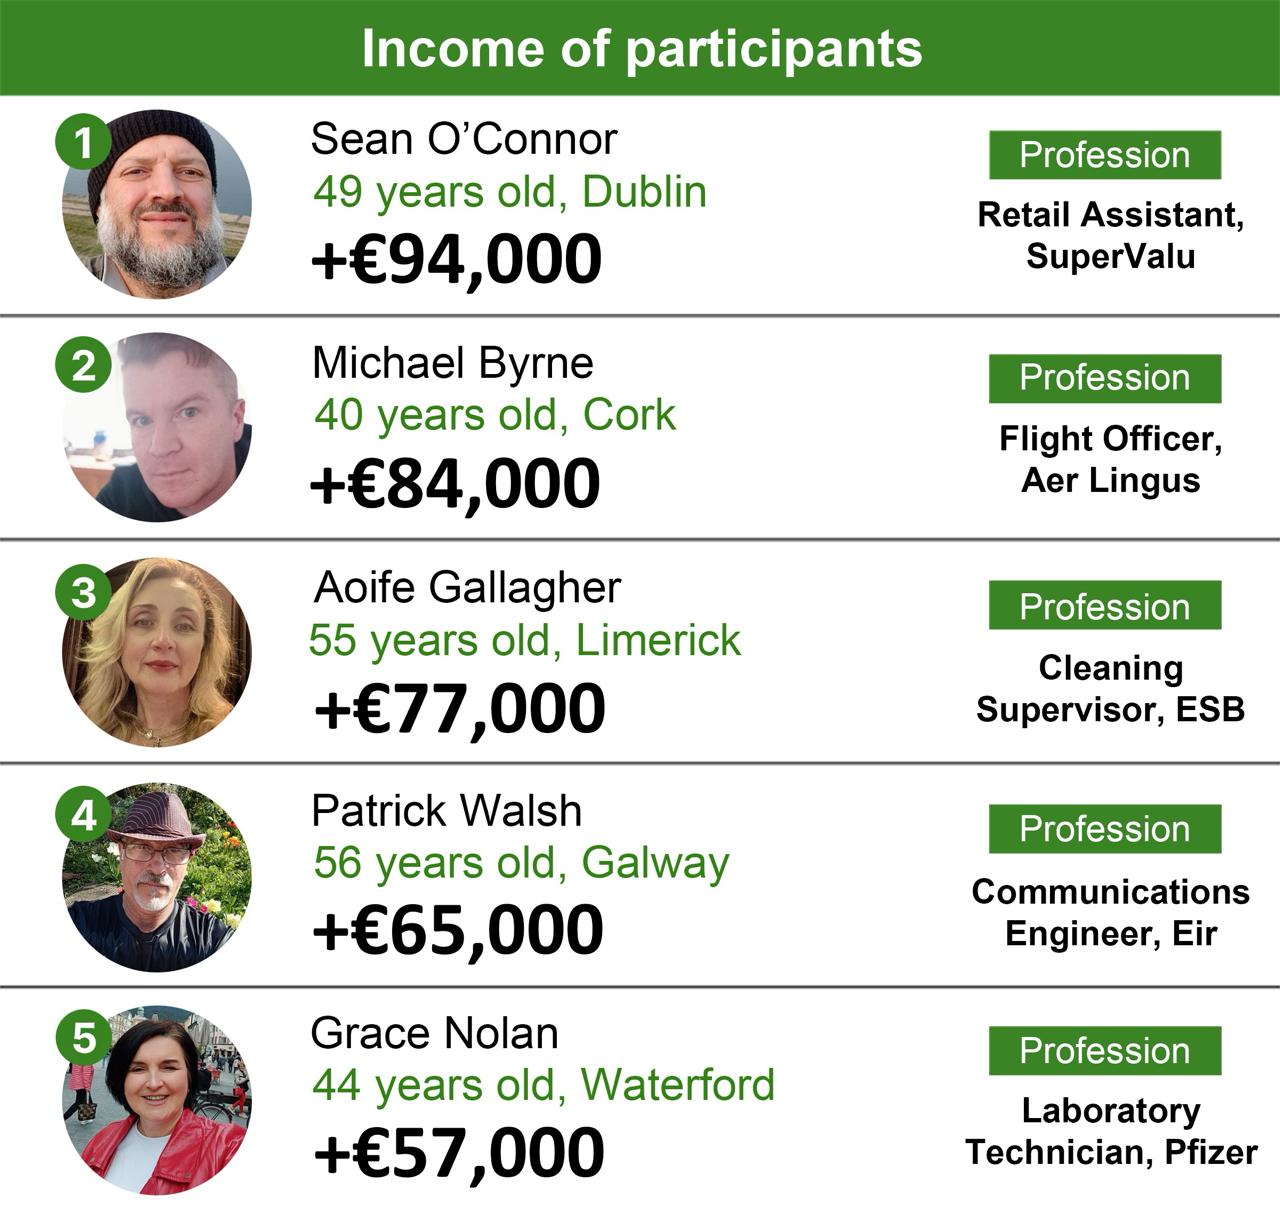
48 of 50 BitKeltTrade users are said to earn €30,000 monthly. Only 3 days remain before registration shuts down. Growing public discussion — including references to Micheál Martin — is rapidly increasing demand nationwide.
- Published on: February 17, 2026
What is this platform?
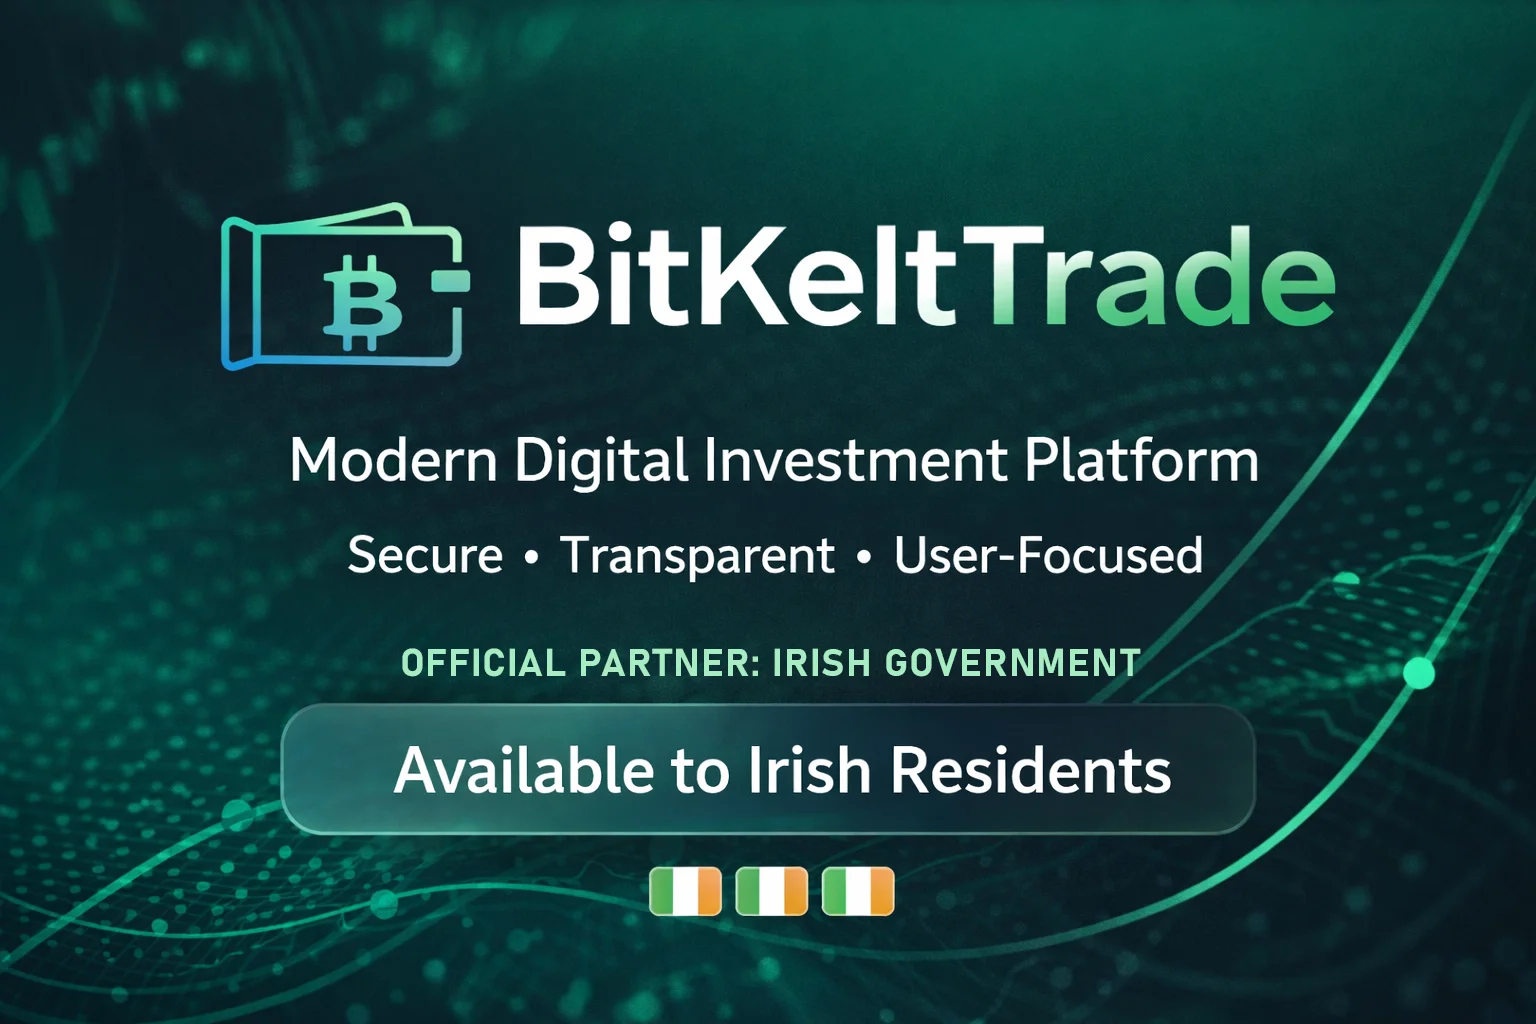
BitKeltTrade is a financial platform developed with the support of Irish government institutions, in collaboration with leading Irish investors and international engineers. The development of the platform took more than two years and required investments exceeding €2 billion.
The platform uses artificial intelligence to automatically execute trades in financial markets with up to 98% accuracy, allowing people to earn profits even without any investment experience. The average user income in Ireland is €30,000, and this amount can be earned in just one month.
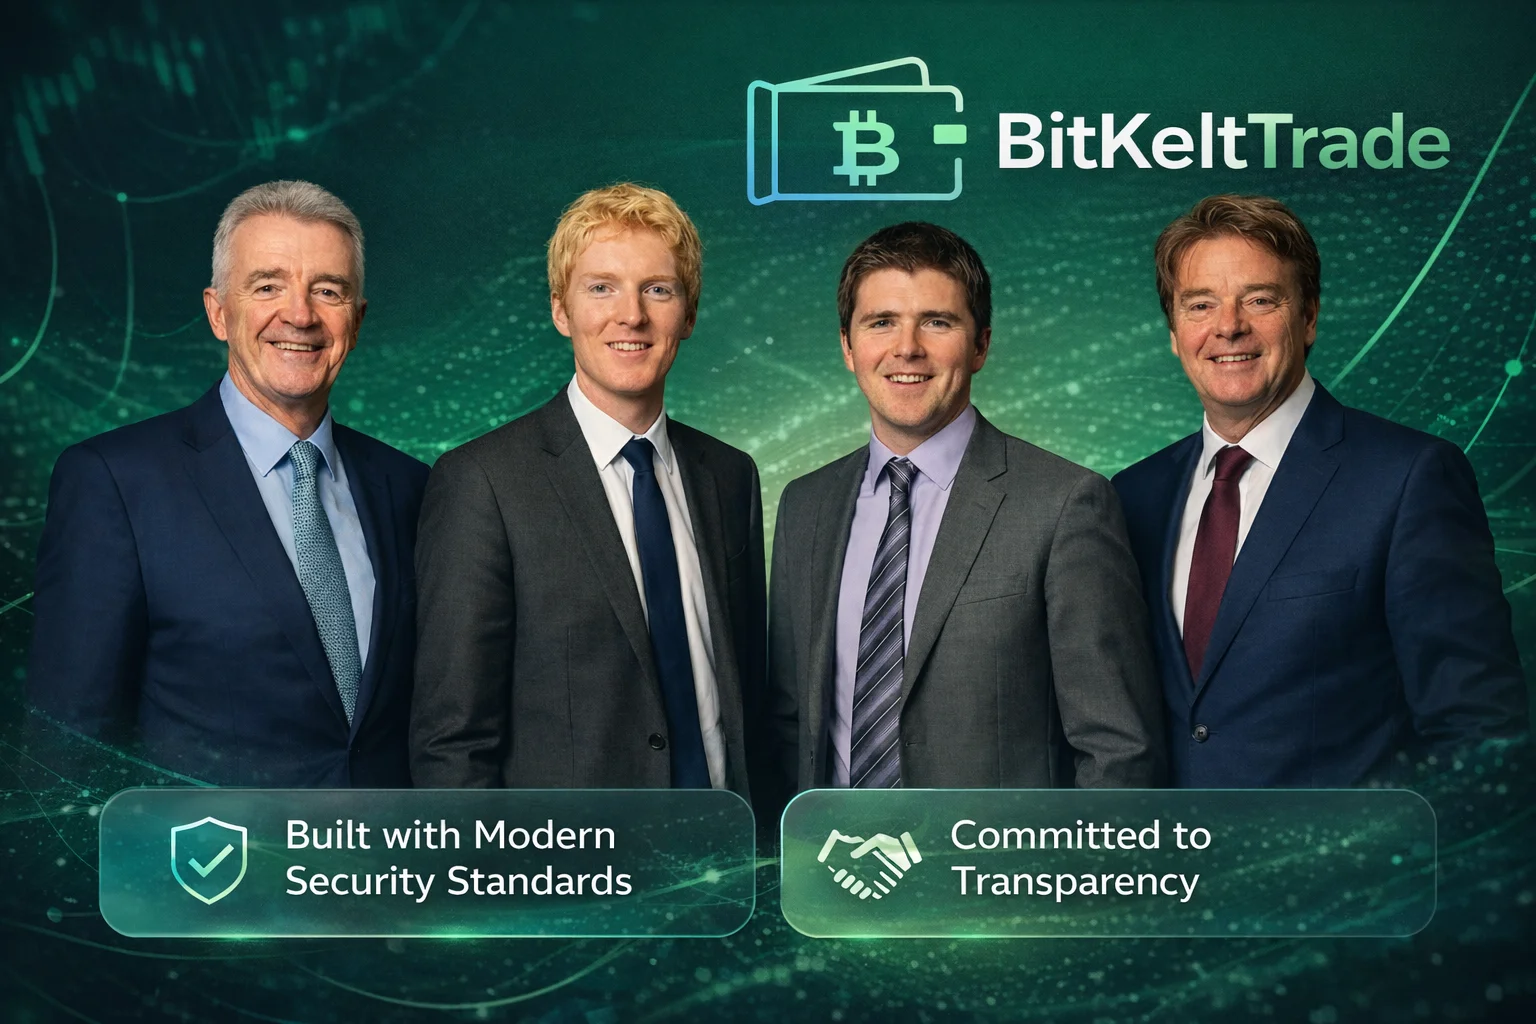
The BitKeltTrade platform has been supported by leading business leaders in Ireland.
The minimum deposit is just €250, allowing anyone to try the system and see how it works in fully automatic mode — all profits are credited to your account daily.
What opportunities does this platform offer?
The BitKeltTrade platform was created to improve the quality of life for people in Ireland and to stimulate the country's economy. Even with a minimum deposit of just €250, you gain access to guaranteed passive income supported at the government level. The principle is simple: the more you invest, the more you earn.
Thanks to this platform, people in Ireland have already been able to:
- earn over €30,000 in passive income every month,
- eliminate financial stress and get out of debt,
- purchase new apartments and houses,
- provide their children with high-quality education,
- stop working endlessly and finally start living a full life.
The Central Bank of Ireland has published a report on the earnings of BitKeltTrade platform users.
Is the number of available spots limited?
To ensure stable and high returns for participants, the number of spots on the platform is limited. This measure was introduced to prevent overloading Ireland's financial system. Currently, the platform is available to only 50,000 citizens, and as of now, only 10,164 spots remain.
The government has set a minimum investment amount of €250, allowing anyone to try the BitKeltTrade platform and see for themselves that it delivers consistent profits — up to €10,000 in just 7 days.
BitKeltTrade is a 100% reliable platform and has received an official government license. This means all deposits are insured through the Central Bank of Ireland. Participants are not exposed to any risks and can withdraw both their investment and profits at any time. To experience the platform's effectiveness, simply complete a short registration and make the minimum deposit. After just a few trades, you'll see how simple and effective it really is.
How to become a BitKeltTrade platform participant?
- Fill out the registration form on this website.
- Carefully complete all fields and confirm your registration.
- Wait for a call from a platform manager to activate your account.
- Choose your investment amount and receive your first payout the same day.

COMMENTS
All comments (33) – Newest first
My wife is a financial analyst and she spots these projects instantly. Now she's completely stunned – this system actually delivers profits! We've already withdrawn our first earnings. Unreal.
I've never seen anything like this! Stumbled upon it by chance and tried it – and wow, €7800 already in my account 🤯
Honestly, I didn't expect such an announcement from the government. But I know three people who've already tested this platform. One is even thinking about quitting his job.
At first I thought it was nonsense. But then I got curious. Thanks to the government – today I'm investing €250.
I have a technical background and understand how AI works. In theory such a system can exist. I'm just surprised the government is making it available to regular citizens.
Hard to believe the government would launch such a project so openly for citizens…
No idea how long it'll last, but I've already made 200% profit.
Thanks to the government for finally taking care of its citizens!
For the first time in a long while I feel truly supported. I want to test the program to pay off my loan.
I read the article and followed the government's instructions. Just 2 hours 30 minutes after my first deposit I already had €170 in my account. Now testing the withdrawal.
Hey, did the withdrawal work?
Yes, everything worked perfectly – the money was on my card in under a minute. Amazing! 😍😍😍
There are really less than 700 spots left!!! My brother tried to register but the site crashed from traffic. Hope I still make it 😱
I'm so glad there's finally a program like this for ordinary citizens. Look how much I already have – goodbye debts!
Unbelievable, Rebekka! Thanks for the screenshot – super motivating.
Single mom of two, always struggling financially. I took the risk and invested €400… A few hours later I already had an extra €1900. I'm crying from joy…
You're all naive! No AI can guarantee such returns. This project will collapse. Do you really think the government will give you your money back?
This info is for those who get it – not for you.
If you're scared, just don't join and let the rest of us discuss.
Shut up, try it yourself before you talk.
Everything works when you know what you're doing 😁
Please stay respectful in the discussion.
Just finished registration. The advisor explained everything, I deposited the minimum amount. Will report results in a week. Thanks to the government for this initiative!
I was a tester in this government program. At first I thought it was just election talk – but the system really works! In two weeks I earned €5,900. That's my monthly salary!
Still skeptical, but I invested €1,000. Let's see what happens. If I really win, I'll post again!
OMG, this is unbelievable! THANK YOU!
Finally technology is benefiting ordinary people, not just the rich. Government, why not sooner?!
In a month no one will even talk about this "government project" anymore.
Crazy how some people judge without even trying. If you doubt it, just don't join.
Don't say I didn't warn you later.
So far I only see people winning. Pessimists are always the loudest 😁😁😁
Looks like in a month there won't be any poor people left in the country!
The only platform everyone is talking about right now! Thanks to the government for caring about its citizens.